

Company Profile Registration Checklist
Follow these seven steps in order to set up your company and testers.
Does your company already have an AquaResource account?
Do not register another company. Ask an existing Company Admin to invite you.
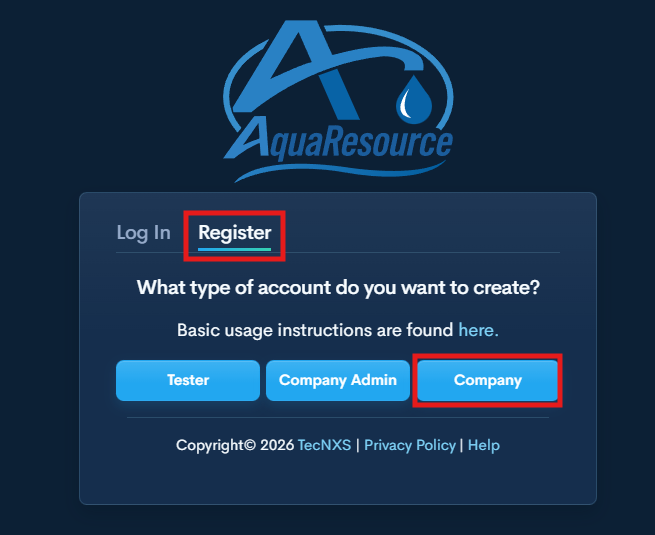
1. Register Your Company Profile
→ AquaResource Login
Select Register, then choose Company.
Done when: You can sign in and see Company Profile in the top menu.
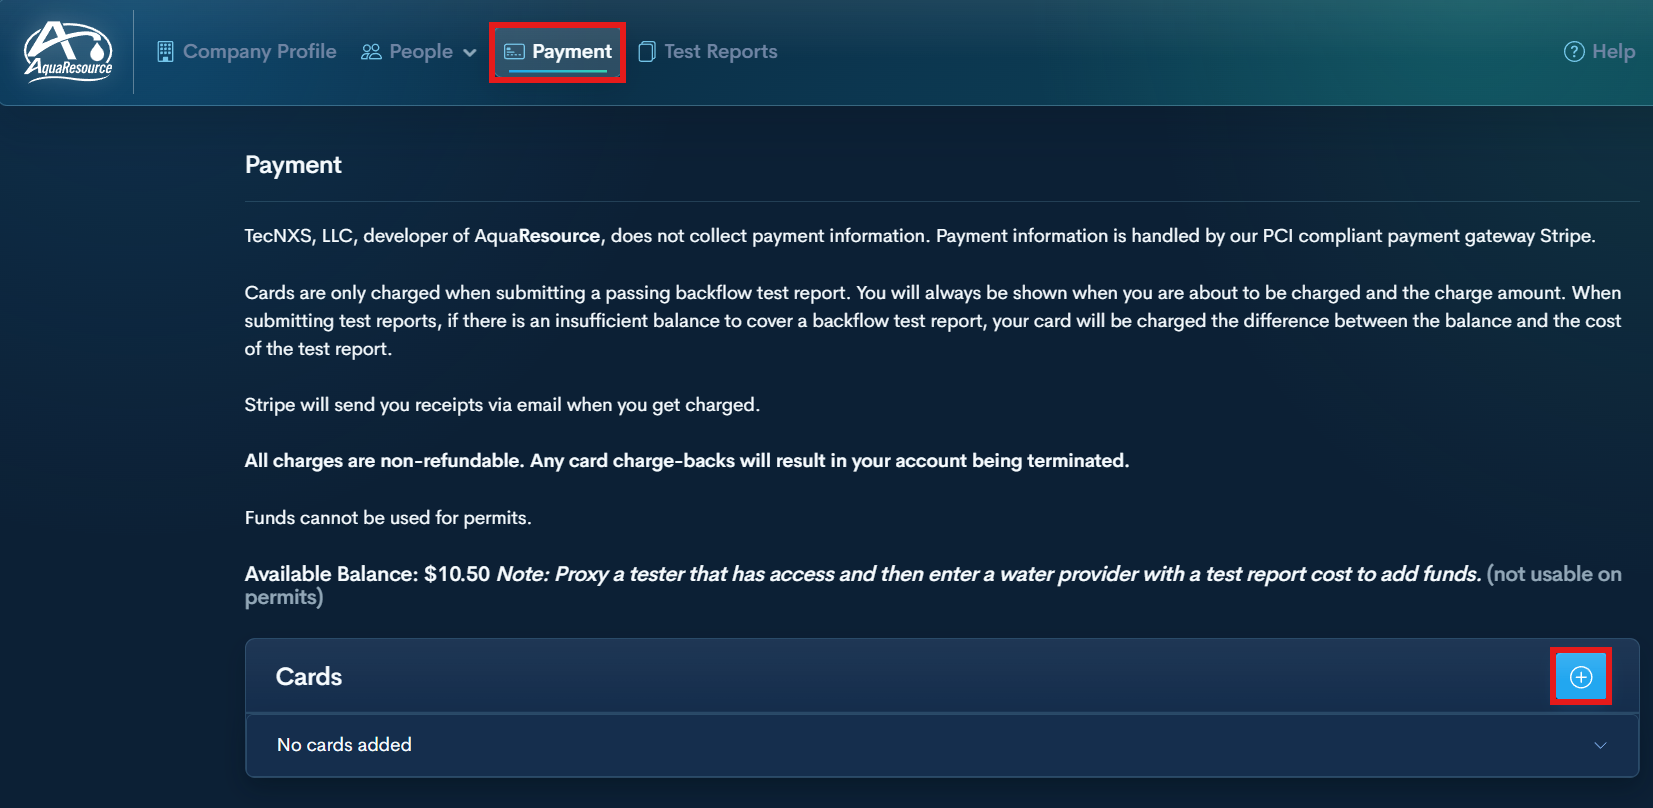
2. Add a Payment Method (If Required by Utility)
If your water provider requires payment, select Payment from your Company Profile and use the + button to add a card.
Done when: The card is listed under Cards on the Payment page.
3. Invite Testers
Repeat this step for every tester your company will manage.
Does the tester already have an AquaResource account?
Yes: Company Profile: Invite an Existing Tester
No: Company Profile: Invite a New Tester
Done when: The tester is connected to your company and available through proxy access.
4. Upload Each Tester’s Documents (GLI, Licenses, etc.)
→ Company Profile: Manage Tester Documents
Done when: The required documents are listed on the tester’s profile.
5. Add or Update Pressure Gauges
→ Company Profile: Add or Update Pressure Gauge
Done when: The current gauge and calibration are listed on the tester’s profile.
6. Add the Water Provider for Each Tester
→ Company Profile: Proxy Tester to Add Purveyor
Done when: Desired water provider will be listed in the Water Providers section.
