

Company Profile: Manage Tester Documents
To manage a tester’s documents, you must first access their account using the Proxy Tester option.
Once proxying, you can add or update documents such as backflow testing certificates or fire line certifications on their behalf.
Add a New Document
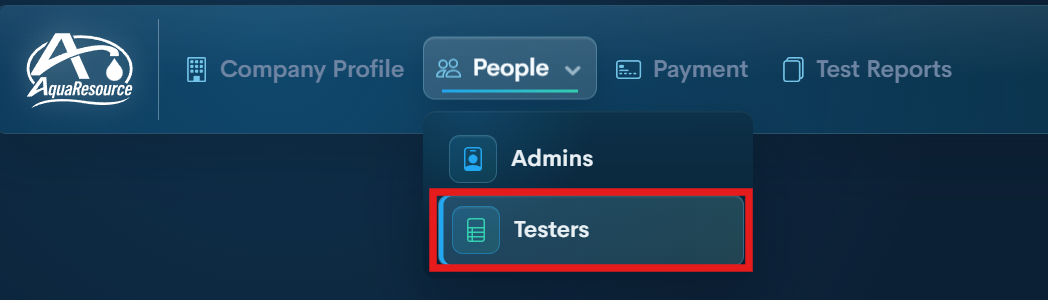
Step 1 — Open the Testers Page
Navigate to the Testers section within your company profile.

Step 2 — Start Proxy Access
Click the Proxy Tester button next to the tester’s name.
You are now operating within that tester’s account.
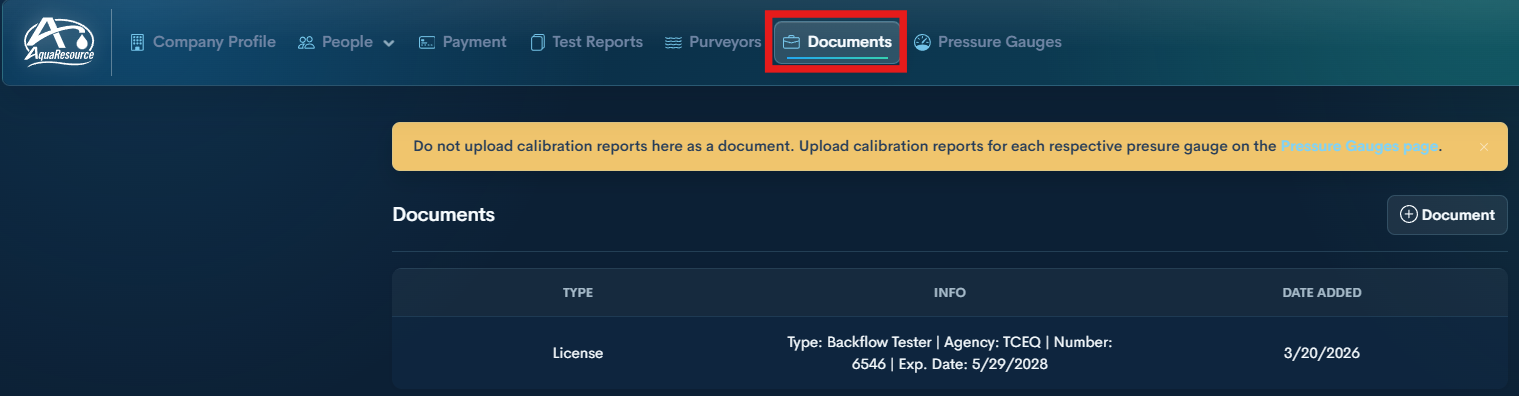
Step 3 — Open Documents
Select Documents from the top menu.
This section displays all documents associated with the tester.
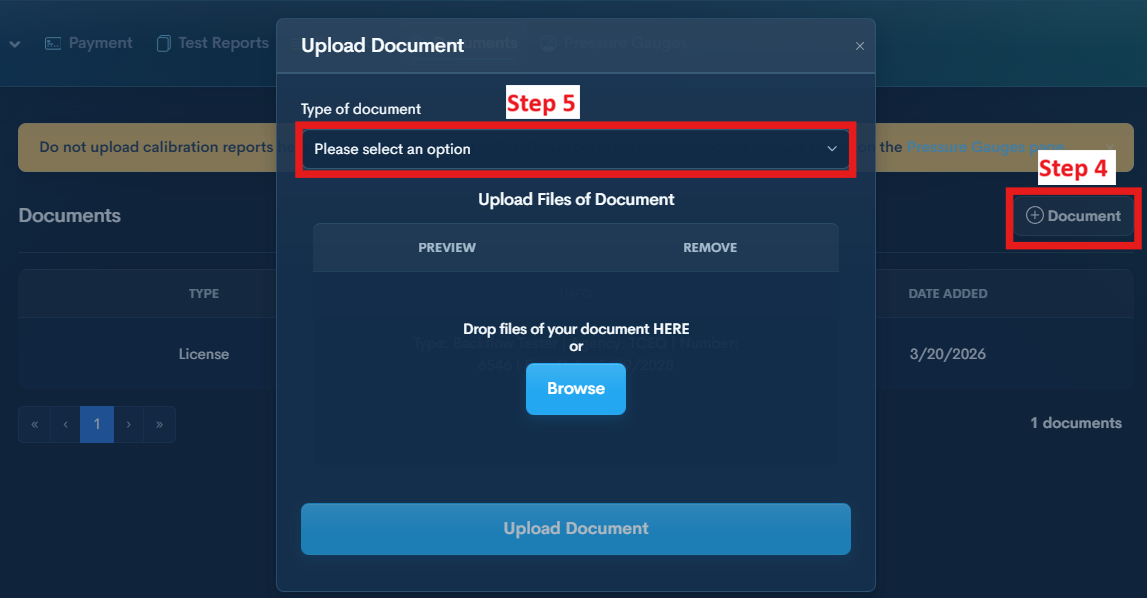
Step 4 — Click + Document
Click the + Document button.
Step 5 — Select Document Type
Select document type, then answer required slots.
Browse button will allow you to upload file/photo.
Then, click Upload Document.
Update an Existing Document
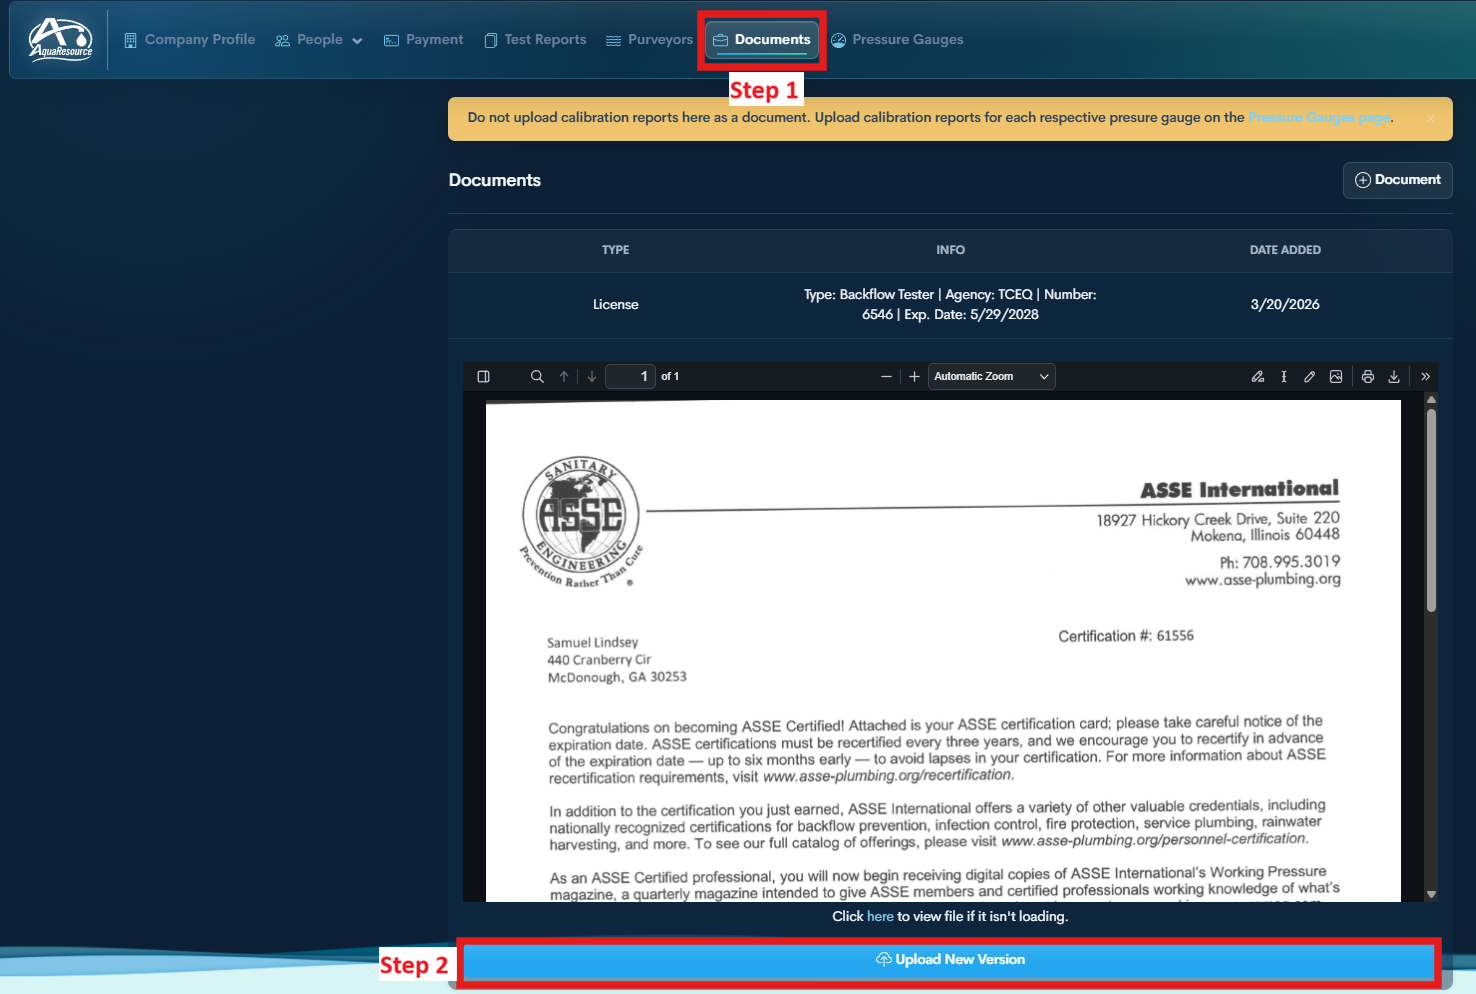
Step 1 — Open Documents
While proxying the tester, navigate to the Documents section.
Step 2 — Select Existing Expired Document
Choose Upload New Version.
Use this option to replace an existing document on the tester’s account.
Step 3 — Upload Updated File
Upload the updated file and click Upload Document to save.
Uploading a new version will automatically send an extension request to all associated purveyors for that document.