

Company Profile: Add or Update Pressure Gauges
To manage a tester’s pressure gauge, you must first access their account using the Proxy Tester option.
Once proxying, you can add or update gauge and calibration information on their behalf.
Adding a Pressure Gauge
Step 1 — Open the Testers Page

Navigate to the Testers section within your company profile.
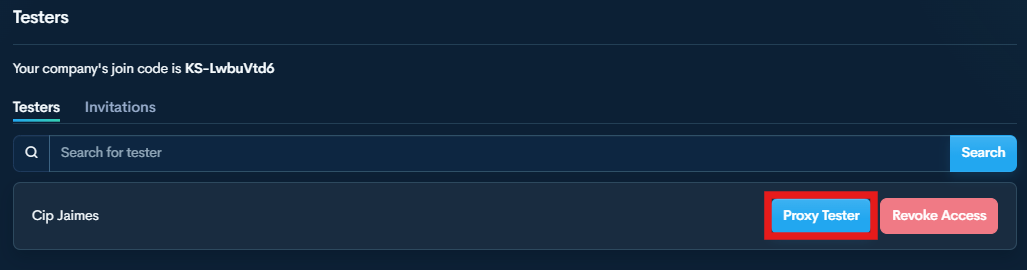
Step 2 — Start Proxy Access
Click the Proxy Tester button next to the tester’s name.
You are now operating within that tester’s account.
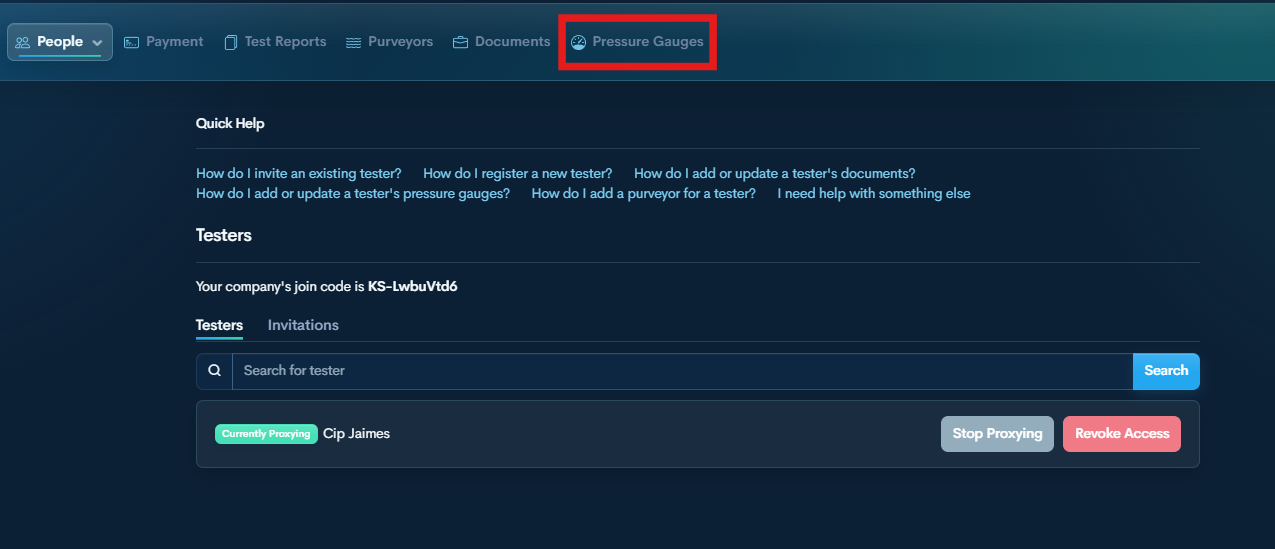
Step 3 — Open Pressure Gauges
Select Pressure Gauges from the top menu.
This section displays all gauges associated with the tester.
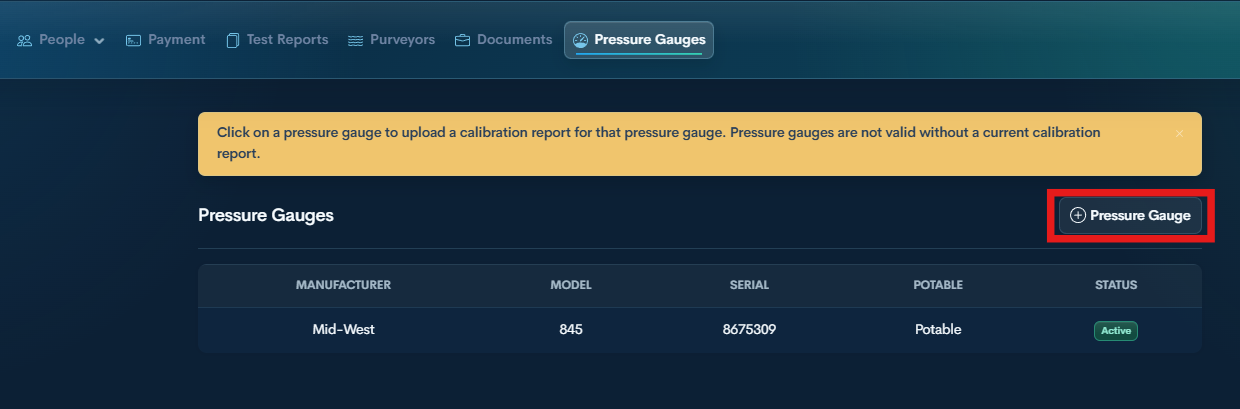
Step 4 — Add a Pressure Gauge
Click the + Pressure Gauge button.
Enter the required gauge information and upload the calibration documentation.
Updating a Pressure Gauge Calibration
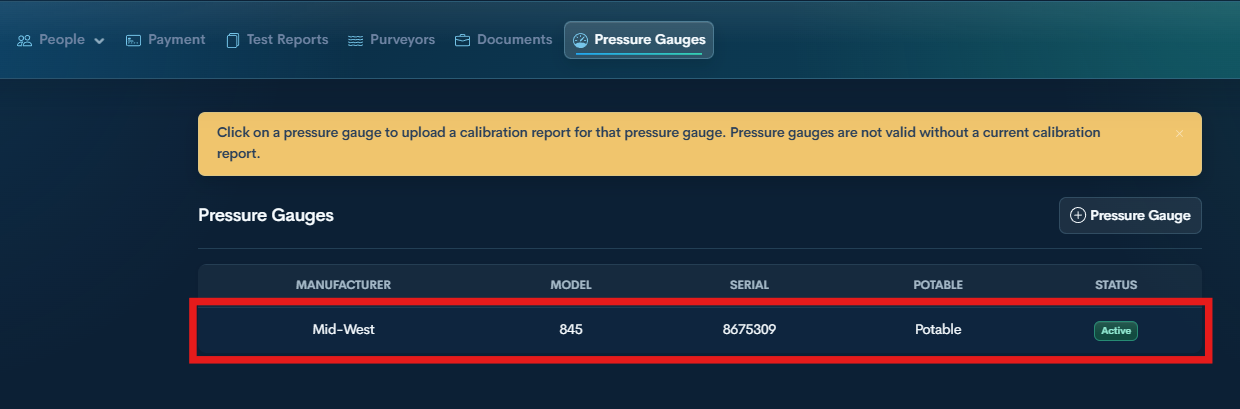
Step 1 — Select an existing gauge from the list.
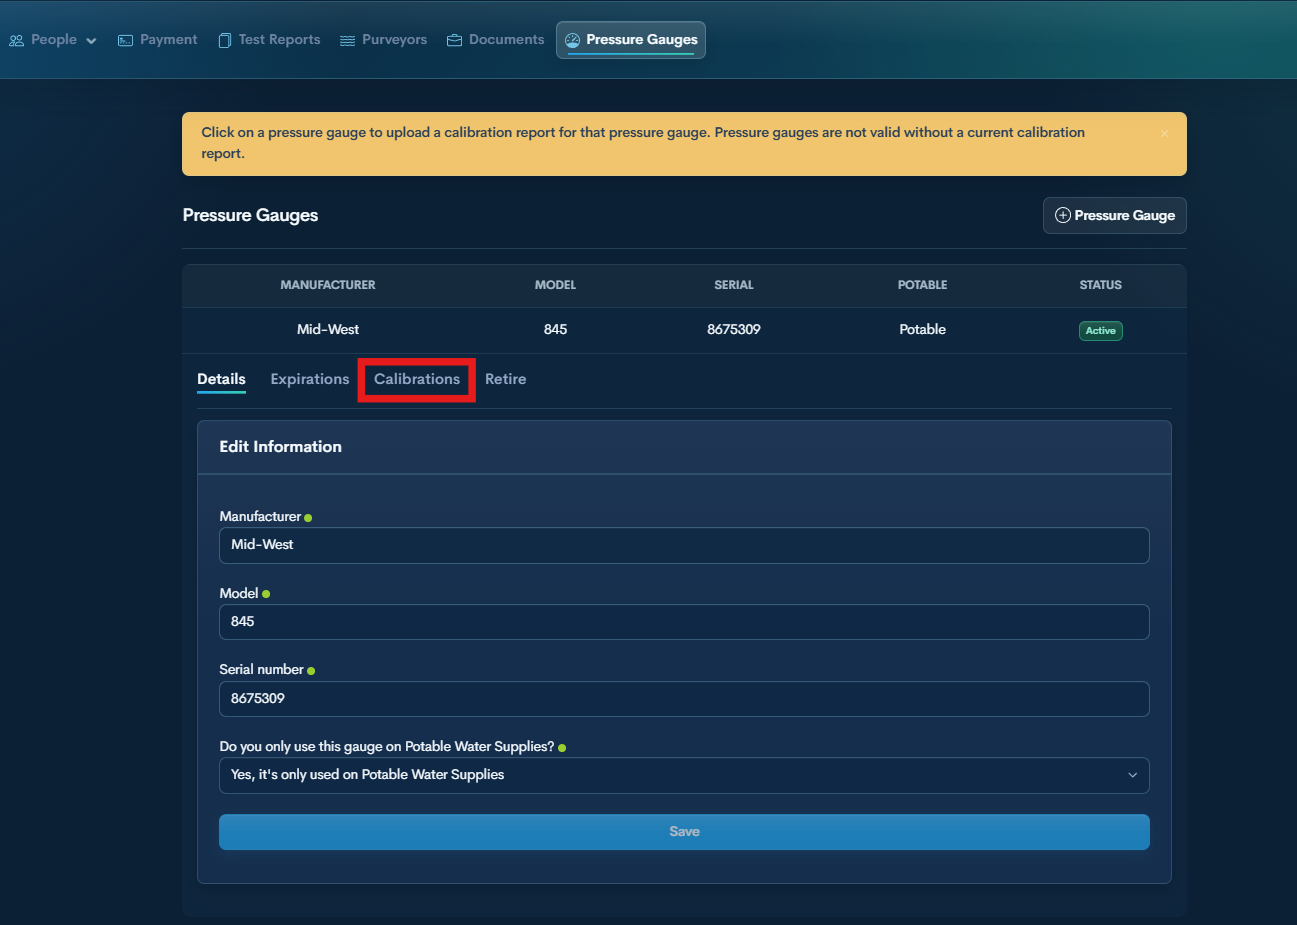
Step 2 — Click the Calibrations tab.

Step 3 — Click the + Calibration button.
Step 4 — Enter the calibration date and upload the calibration report.
Step 5 — Click Add Calibration to save.